One STU legal mod that I had been debating on whether or not to add to the car was a mechanical limited slip differential (LSD). Having had a proper LSD in
Bumblestook for years, I know how much they transform the car for the better but I was venturing into new territory doing this on a Porsche. The most important detail of course was finding the right shop to install it. This sits inside the transaxle so unlike the S2000 where I could easily ship a spare diff carrier to a well known diff installer somewhere in the country, I was more hesitant to do so with a Cayman transmission. After speaking with Jonathan Lugod (congrats by the way on winning
SCCA driver of the year) at
OSGiken, I was referred to
Speedsport Tuning (SST) in Danbury, CT, one of their east coast vendors.
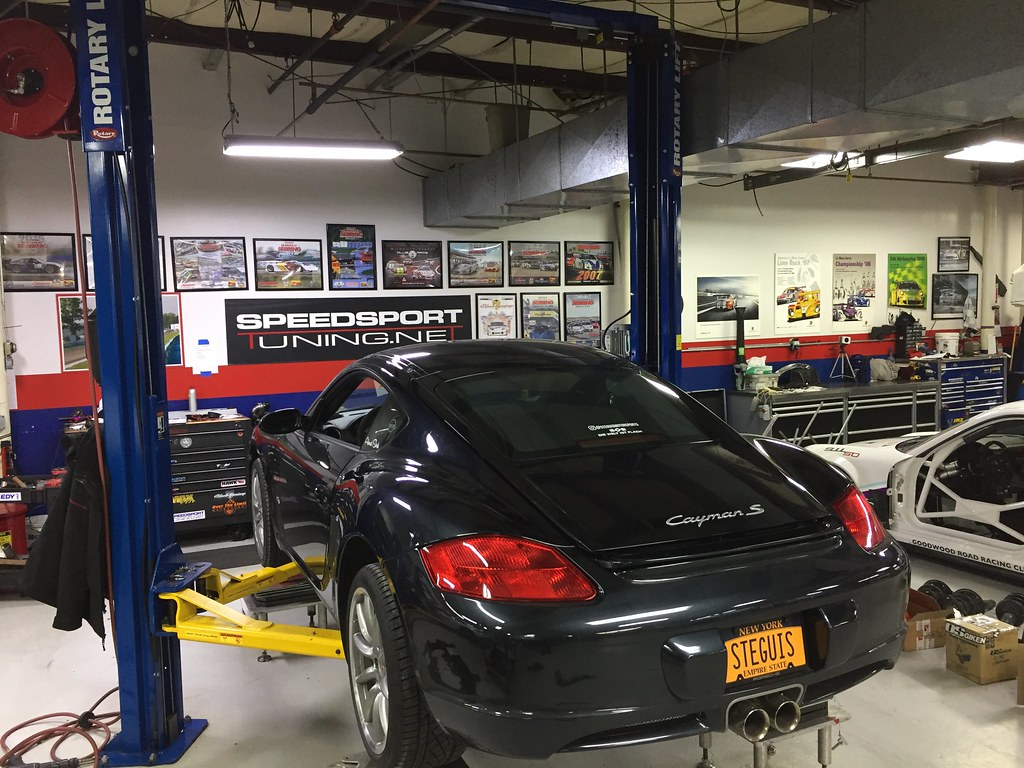 |
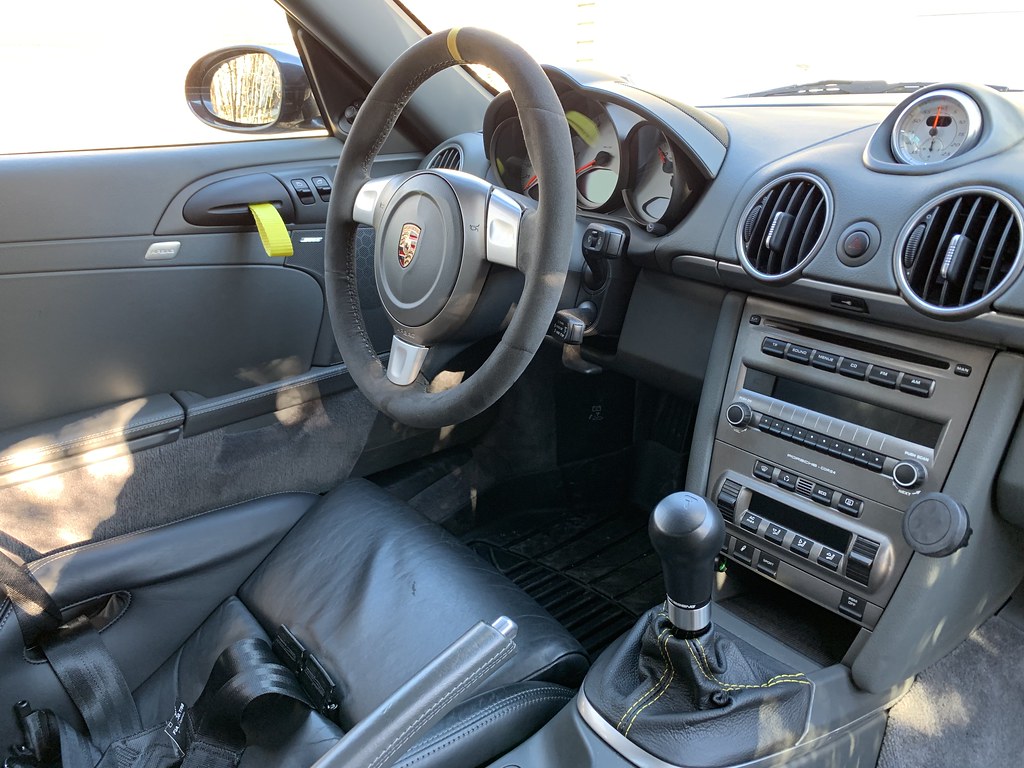
Kay getting ready for corner balance and alignment
Speedsport Tuning - Danbury, CT - 2-7-2019 |
I had some very good back and forth emails with Bryan Schute at SST and he was very helpful in answering all my questions and concerns (I had a lot of them). They had done a number of OSGiken installs on Caymans before which made me comfortable that I wasn't going to be the guinea pig. Jonathan shipped me an OSGiken Super Lock LSD that had been given some special sauce treatment by Lugod himself for autocross applications. Last week I dropped the car off at the shop to finish this phase of the build. Since I live in NYC and the car was going to have to be in the shop in CT for a week anyway, I figured it was in my best interest to have them also put in all the suspension pieces that had been piling up in the garage for this build. I normally would've wanted to do this myself with SJF in his garage so I could get my hands dirty and get more intimate with the suspension but I'm running out of time. Getting all the suspension bits on now in one shot means that I have more time for the springs to settle and make tweaks before racing season begins. I'd also be able to start breaking in the diff and hopefully do another fluid flush before the first event.
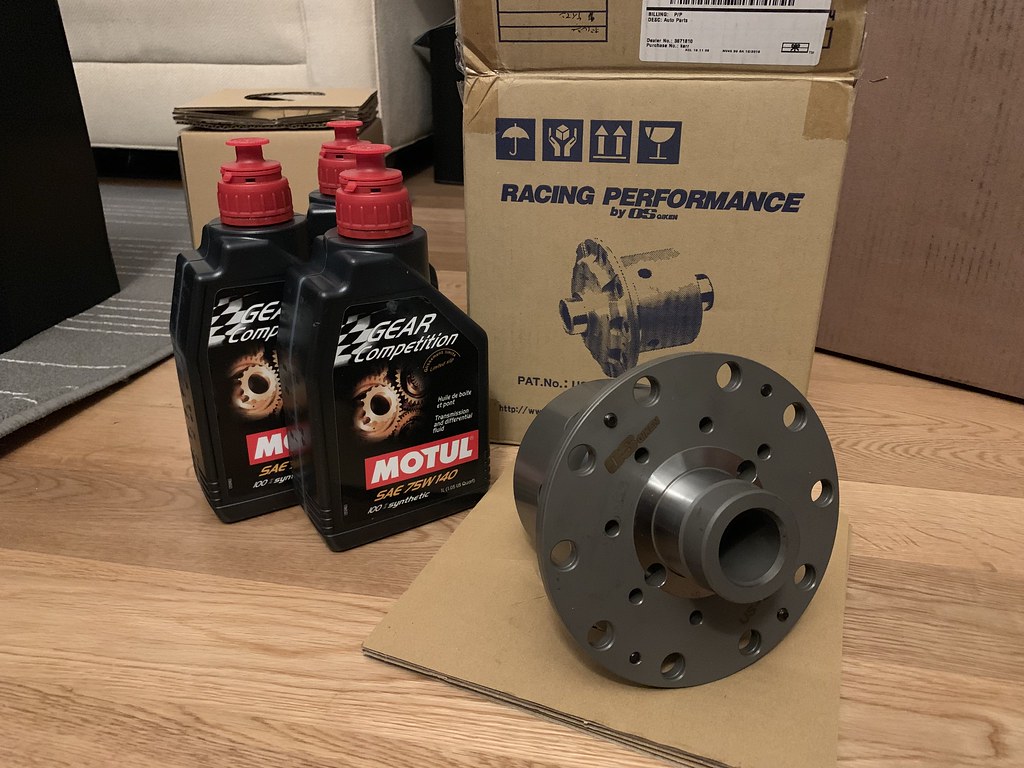 |
| OSGiken diff and Motul Competition Gear FF 75W140 fluid |
Speaking of suspension, as much as I love having PASM on the car, without being able to do a DSC upgrade, it just wasn't going to be good enough to be competitive in STU. This car is already going to be an underdog in the class and I needed every advantage I could get to try and close the gap. I was chatting with Bryan Karwan at
Karcepts back in December when
Motion Control Suspension (MCS) announced they were going to release dampers for the 987.1 and had him order a set of MCS 2-Way non-remote dampers, MCS front and rear spherical top mounts, Hypercoil 600lb/700lb 2.25" ID 6" springs and Hypercoil 4" helper springs which conveniently arrived in mid-January. For reference, the stock PASM spring rates are 174lb/297lb so this is quite a bit of an increase in spring rate.
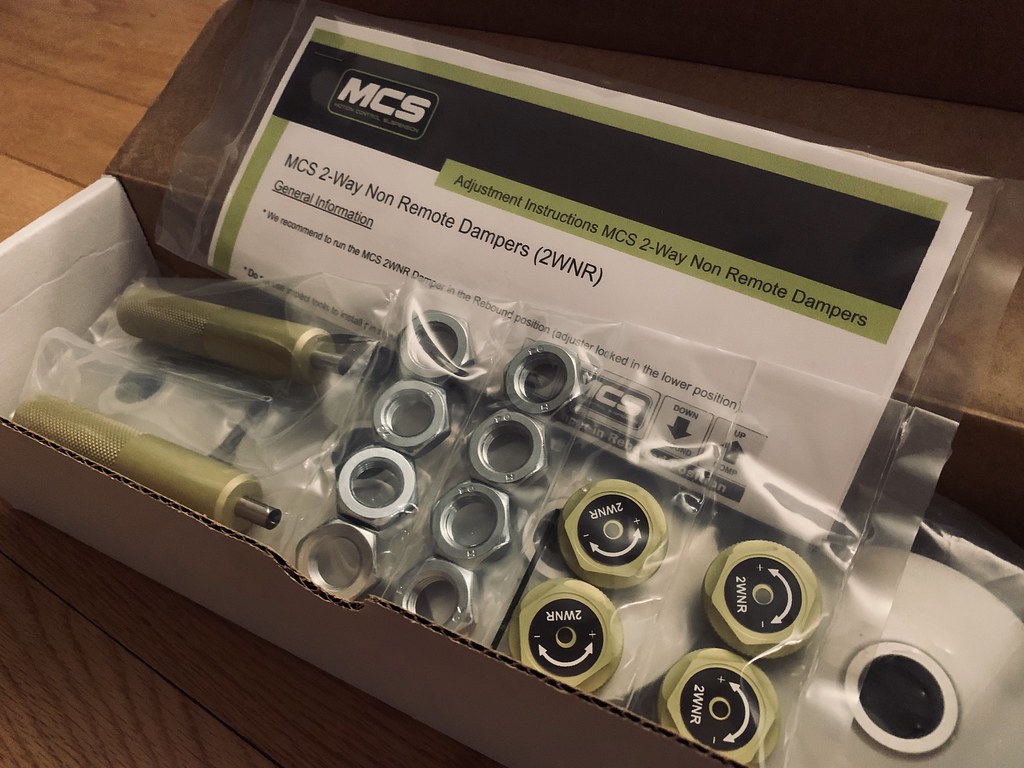 |
| MCS 2WNR Dampers |
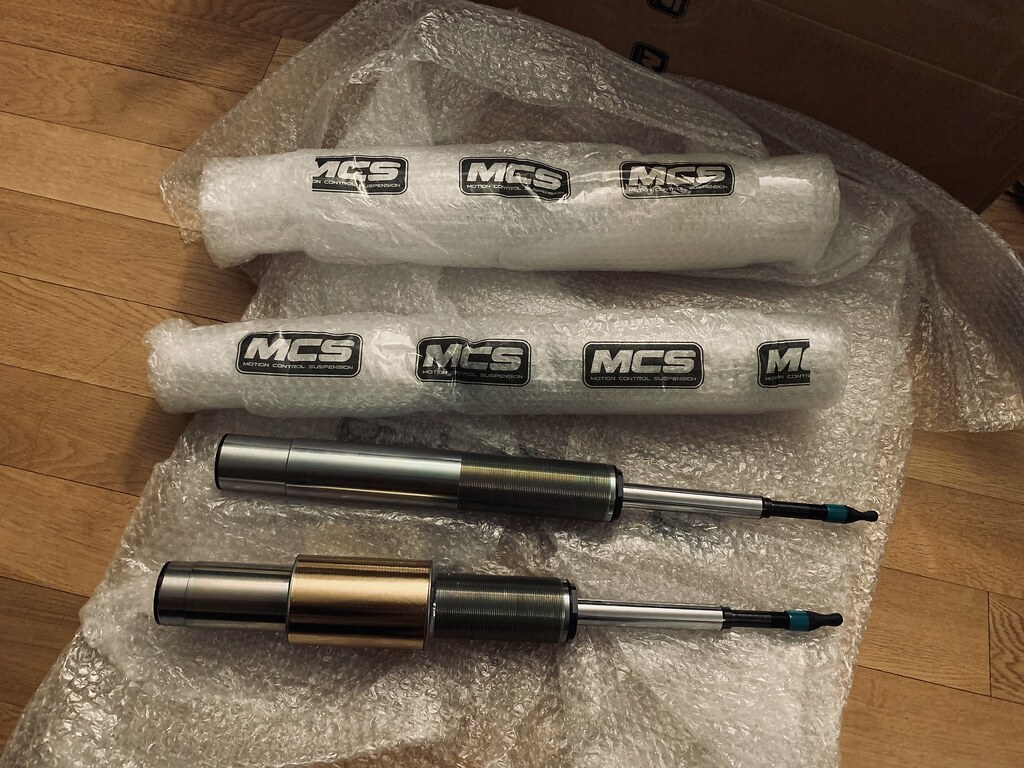 |
| MCS 2WNR Dampers |
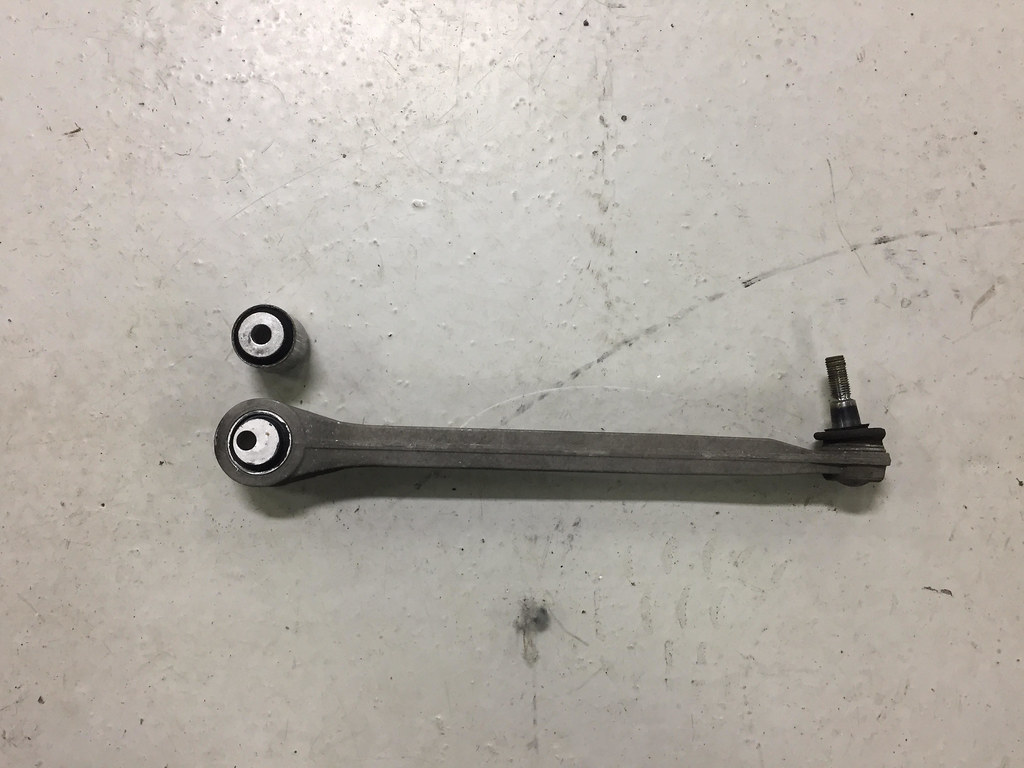
To get proper camber up front, I had also picked up GT3 lower control arms. To match the GT3 front sway bar, I got a GT3 rear sway bar and
Tarett Engineering drop links. This is important so I have adjustment in the rear bar as well. To make sure I was going to get the rear toe back in line after dropping the ride height, I also got
Elephant Racing rear toe control arm eccentric bushings since adjustable toe arms with spherical bearings, the most common way to do this correctly, aren't legal in STU.
 |
| GT3 front lower control arms |
 |
| Rear toe arm eccentric bushing installed |
Since the rear suspension was already coming out, it was easy enough for them to just remove the axle and lower the transmission to install the diff. I had them put in new diff carrier bearings and everything was shimmed back to spec then the transmission was filled with the new Motul Competition fluid.
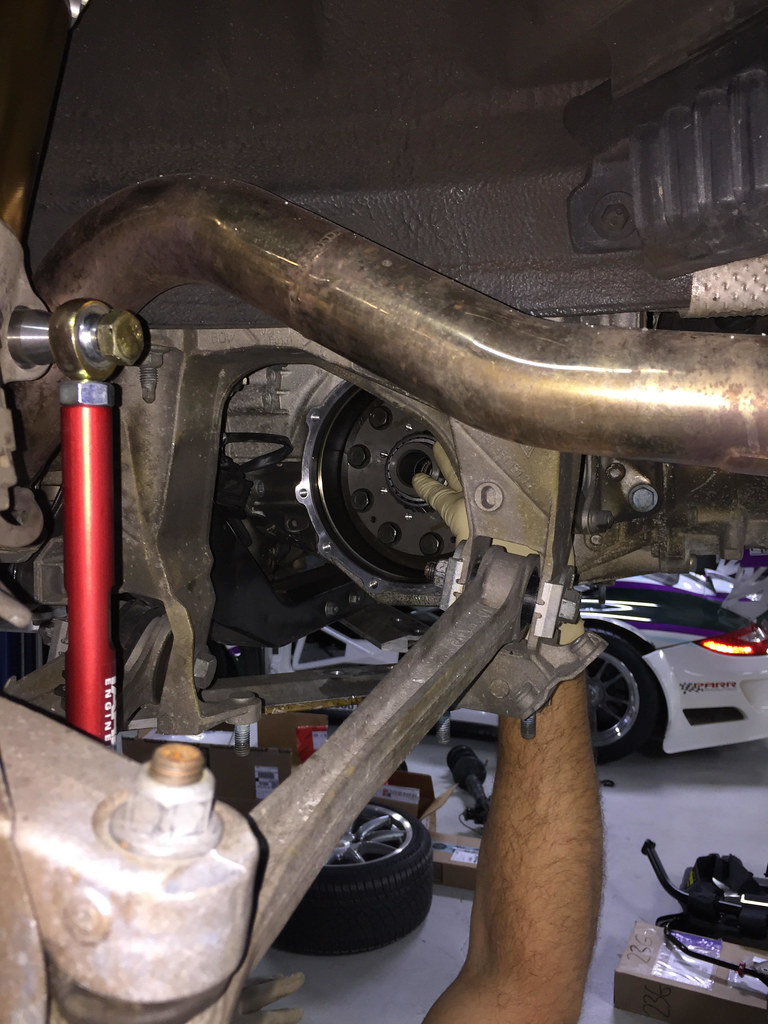 |
| OSGiken diff getting installed |
To get to the rear suspension, you have to remove a lot of the interior panels. Since the rear damper is so close to the headers, I guess MCS felt having that part of the damper wrapped in heat reflecting tape was a good idea.
 |
| Interior panels removed for rear damper installation |
 |
OEM rear damper / springs vs
MCS rear damper + Hypercoil springs |
 |
| Rear dampers installed |
The GT3 rear sway bar and Tarret Engineering drop links were also installed and set to full soft per my request. The spare
rear speaker panels that I had painted were then cut to give me access to the rear adjusters. I think I'm going to add some kind of weather stripping to clean up the look a little. I then added the stickers MCS provides to remind myself how to adjust them. It's too easy to get confused when making changes during competition.
 |
| Rear completely done |
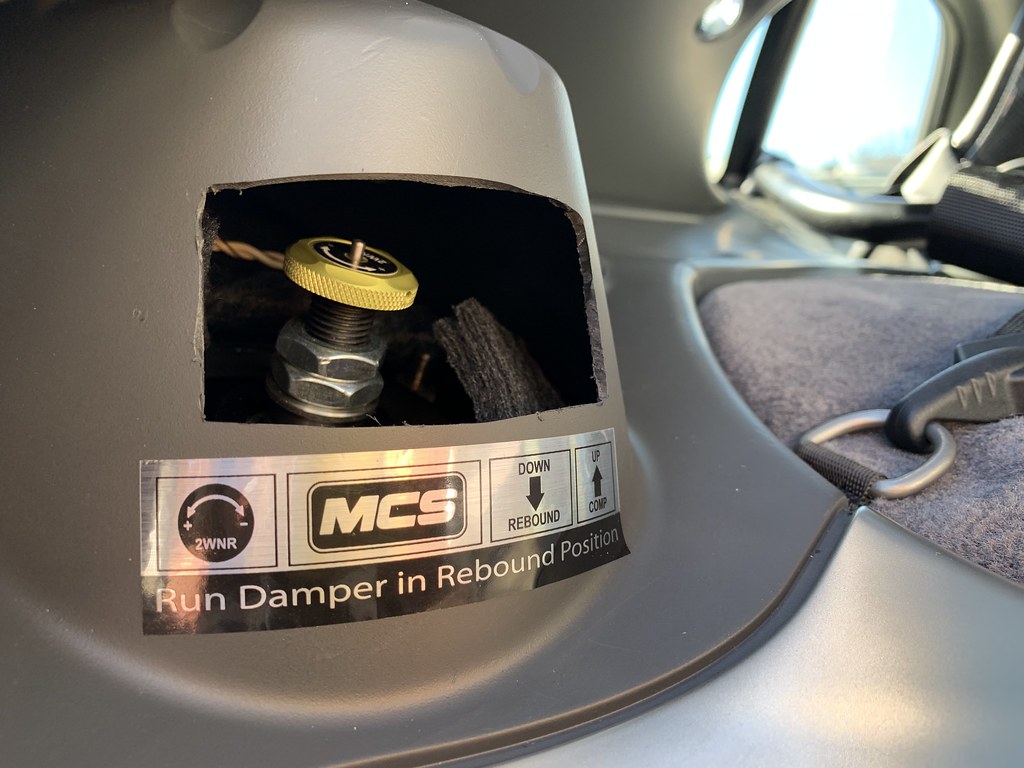 |
| Access to rear adjuster knobs |
The fronts were slightly easier because the front panels come out pretty easily. However, the GT3 LCAs are a bit fiddly since you have to use shims to set the alignment so a little bit of the undertray needed some trimming to get to the bolts for the adjusters. Once the suspension work was done, the PASM module had to be disconnected and the ECU reprogrammed to remove the feature so it doesn't complain that the OEM dampers are missing.
 |
| Front dampers and springs in |
 |
| Trimmed underpanel to get to shims and nuts |
I asked that they lower the car only 25mm all around for now since I wanted to give time for the springs to settle. On Bumblestook I've seen springs settle as much as half an inch before so I didn't want to set it too low for now and find out I can't even get up the driveway later. I had them corner balance the car and align it. Obviously once all the springs settle and I finish with the weight reduction, I'll readjust the ride height, alignment and corner balance but setting it to a known quantity now is going to make that process a bit easier later. It'll also let me sort out any clearance issues and help me decide if I want to lower the car further. I think I plan on lower the rear another 10mm before the next alignment. Bryan advised me that the car likes some reverse rake and that seems like a sound plan. I also picked up 5mm wheel spacers and I'm glad I did because with the increased negative camber the wheels are getting awfully close to the springs. I'll have to see how it all clears when my new wheels arrive later this month.
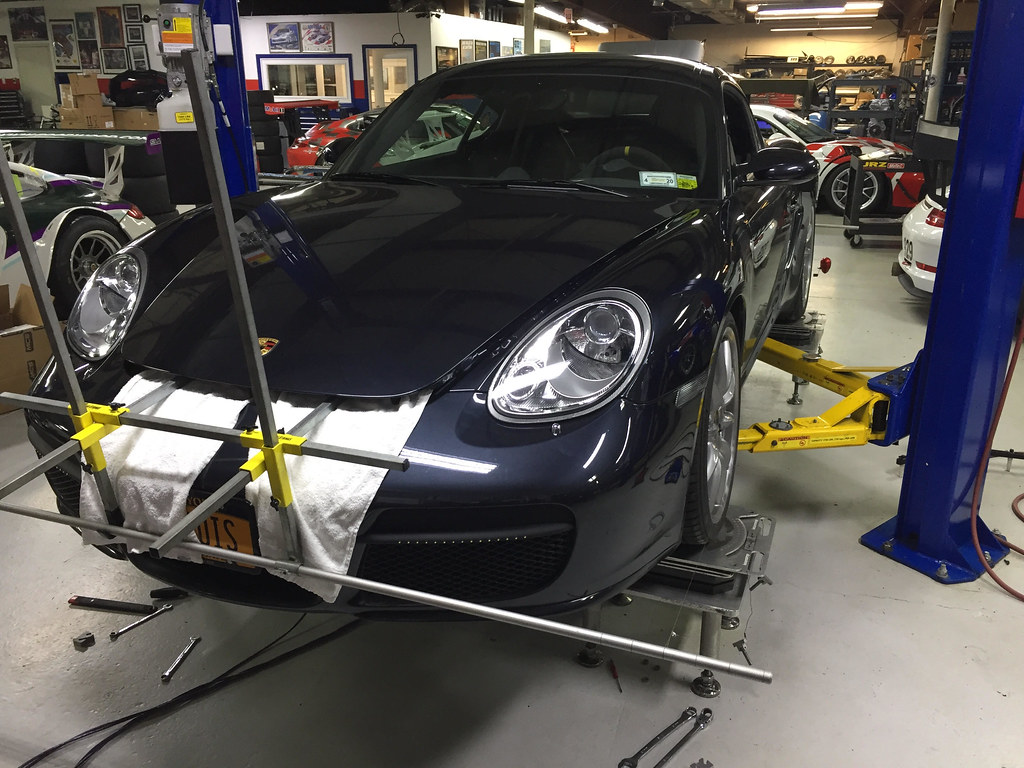 |
| Alignment and corner balancing |
Alignment Specs:
Front:
-3.5 camber
0.06" toe out total
max caster
Rear:
-2.5 camber
0.06" toe in total
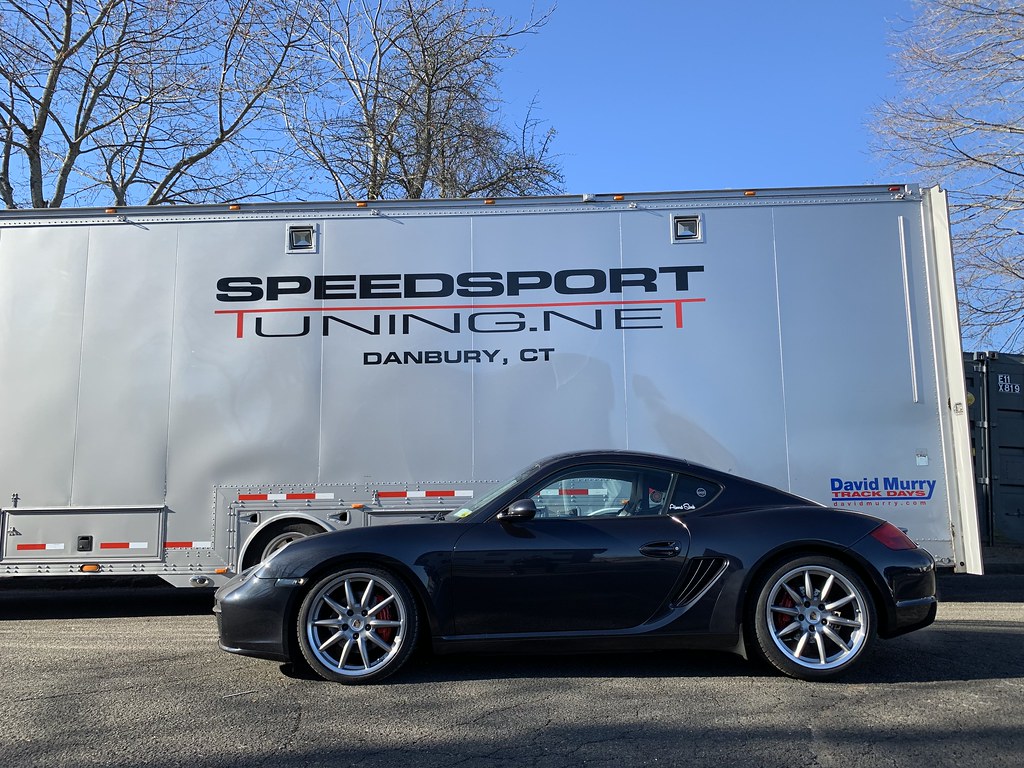
With 9 Gallons of fuel, a 175lb driver ballast (flattering but quite a bit off haha) and OEM 19" wheels with 235/265 Continental DSW tires the weight was 3,256 lbs. That's going to be close to her competition weight since the additional weight savings I have planned for the car is approximately the difference between the ballast and my actual weight.
 |
| Cross weights - 2-9-2019 |
When I picked the car up, I asked Bryan if we could get it on a lift so he could show me the work and explain anything I needed to know. He gladly obliged and also noted that all the bolts they touched were marked to note that they had been torqued to factory spec. I can appreciate that level of attention to detail. I had given them a rather detailed checklist of what I wanted done when I dropped it off and we made sure everything was done to my liking.
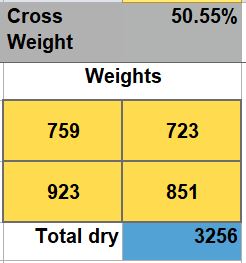
After I got the car, I figured I'd finish off some of the interior things I wanted to get done. Since I already have a few splashes of yellow in the interior from the steering wheel and 6-pt harness, I decided I'd also continue this theme a little bit more and installed a new shift boot with yellow stitching and yellow strap door pulls. The interior was looking a bit drab and a splash of color helps it out a bit I think.
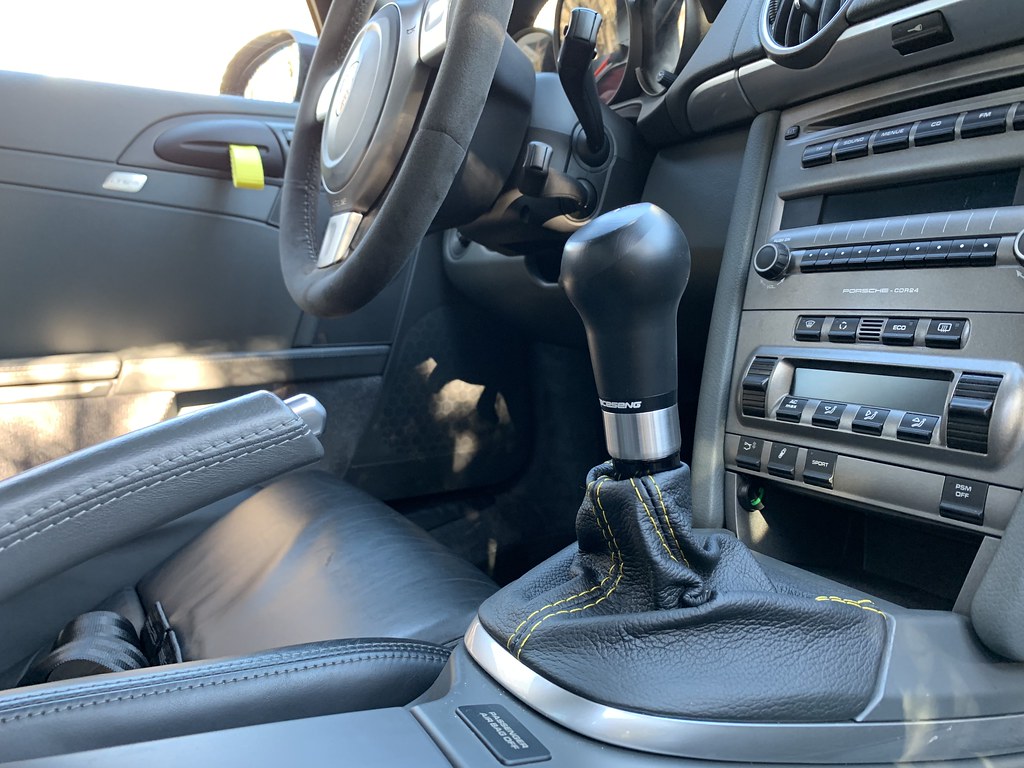 |
| Adding a bit of yellow on the inside - 2-9-2019 |
 |
| Adding a bit of yellow on the inside - 2-9-2019 |
Driving Impressions:
I put on about 140 miles today (note: current mileage at pickup is now 34,256). The first leg was from the shop to my storage to drop off all the parts taken off the car. That was a bit interesting because the car was full of boxes and I had asked the shop to set the dampers to one click from full soft all around for both rebound and compression so while the ride was fine, if I hit dips or bumps let's just say the car was quite underdamped. Once I had dumped the stuff out of the car. I went around and started tweaking the shocks by setting the compression to 4 and rebound to 8 as the instructions for the MCS dampers say should be the initial settings. That was night and day. She started driving like a proper German car again and I think this is a good starting point for tuning. I took her to some nice twisties and hot damn...this is how the car should've left the factory. So many smiles per gallon and definitely sparks joy!
The diff is super smooth. No diff / gear whine or annoying low speed clunking when doing tight turns. I obviously didn't push it that hard since I'm still breaking it in and it was 25F so I wasn't about to be the next Internet meme of a car wrapped around a tree but so far this is all very promising.
 |
| Great day for picking her up - 2-9-2019 |
I want to thank Bryan and the race team over at Speedsport Tuning for doing a great job and getting the car back to me on time. When I dropped the car off last week they were at Sebring racing a bunch of their race cars and they had just gotten back this week and worked on my car. The communication throughout this entire process was superb and I got the car back with a flash stick with a bunch of photos from the build and additional data relevant to me.
That concludes the major parts of Kay's STU build. We've got some added lightness on the way and a few tweaks here and there but we should be ready for the March season opener.