Sunday, August 18, 2019

SoloNatsPrep - Racing Livery and Ensuring SCCA Compliance

Since I'm driving to Nationals instead of towing out this year, I had originally not planned on putting any decals on until I got there. However, after considering it some more I realized the last thing I want to do when I get there is to fiddle with vinyl outdoors in unpredictable conditions. I figured if I did it in the garage now I'd have plenty of time to make sure things lined up properly and give it adequate time to dry and stick properly. I got in touch with Mike Snyder and he made me a bunch of vinyls for me including some racing stripes that I thought would give the car a more aggressive look for photos.

Aligning the racing stripes - 8/18/2019
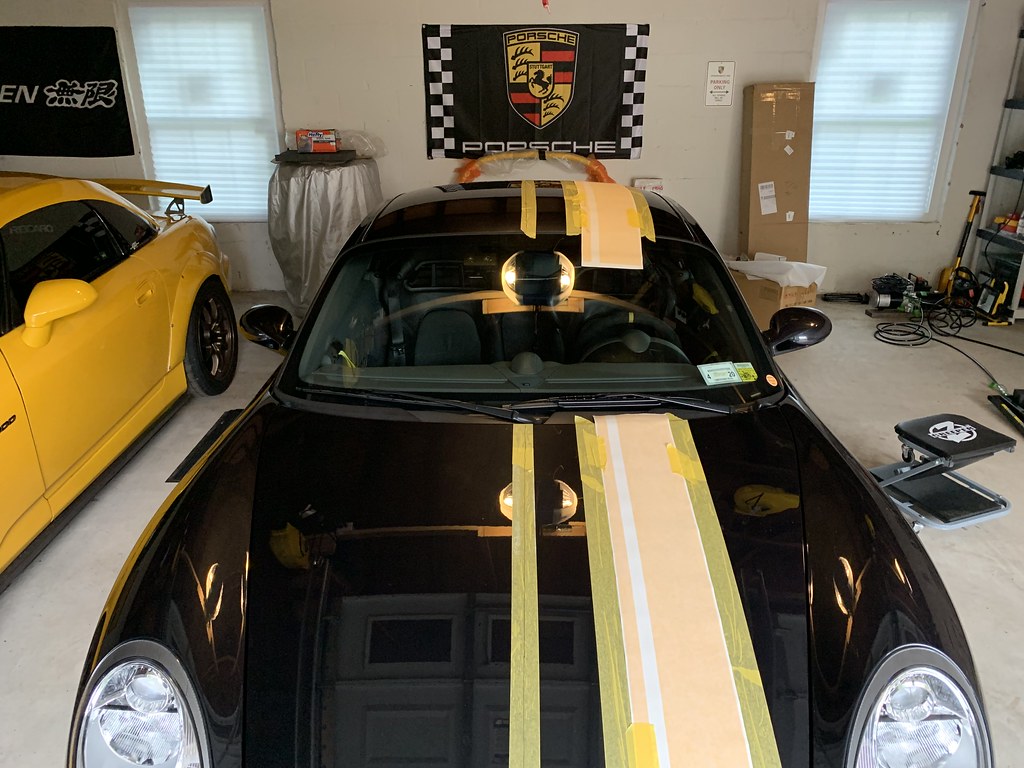
The first thing I did was to mark up the centerline for the car by laying down some painter's tape, measuring from both sides then drawing a line as my guide. I then started from the back, making sure I'd clear the "Cayman S" emblem and then making the exact spacing from center which was around 7 inches. Once I laid out the exact position, I sprayed the car with water so I could reposition the vinyl as needed. Normally you'd use soapy water but with the car fully ceramic coated, nothing really sticks to it so a spray of water was sufficient.

Laying down the stripes - 8/18/2019
I trimmed the edges with a blade and then wrapped it around so I'd have a clean edge. I think it came out ok, certainly good enough for photos. All these graphics are coming off when I get back from Nationals anyway so they just have to survive the next 3 weeks.

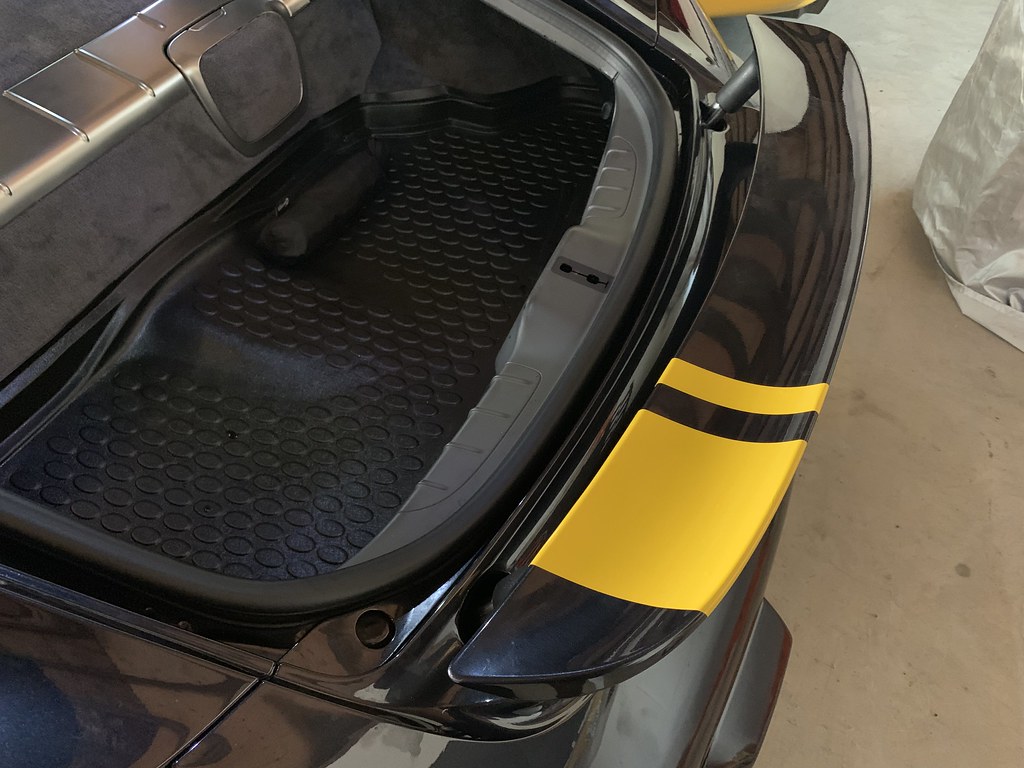
Stripes applied all the way to the rear hatch
The other decals were applied with equal care. I always get annoyed when I put on my magnetic numbers and they move around from hitting cones so they're all crooked in photos. Switching to vinyl for Nationals means I just won't have to worry about it. All I need to apply now is the SCCA front decal and Solo Nationals 2019 side decals and I'm good for tech. I'm glad I took care of this now though. It took a total of 4 hours to get the livery on the way I wanted and wasting that amount of time in Lincoln just wouldn't have been smart.

Fully livery on 
Fully livery on 
I also had to also return a few things back to stock to be fully legal to STU rules because they're not explicitly allowed. The major item was the duckbill spoiler. It looks good but unlike the other things I have to put back to stock, this one could be argued to actually provide an advantage (even though it really doesn't). Since I had the spoiler off anyway, I figured I'd extend the racing stripes to it as well so the rear is fully coherent.

OEM spoiler vs Duckbill
OEM spoiler re-installed with racing stripes applied
The remaining two items are trivial but I just didn't want to open myself up to protest. These are the door handles which I had changed to RS style door pulls and my tail lights which I had "upgraded" to LED ones purely for cosmetic reasons.

OEM tail lights back on the car
OEM door pulls once again
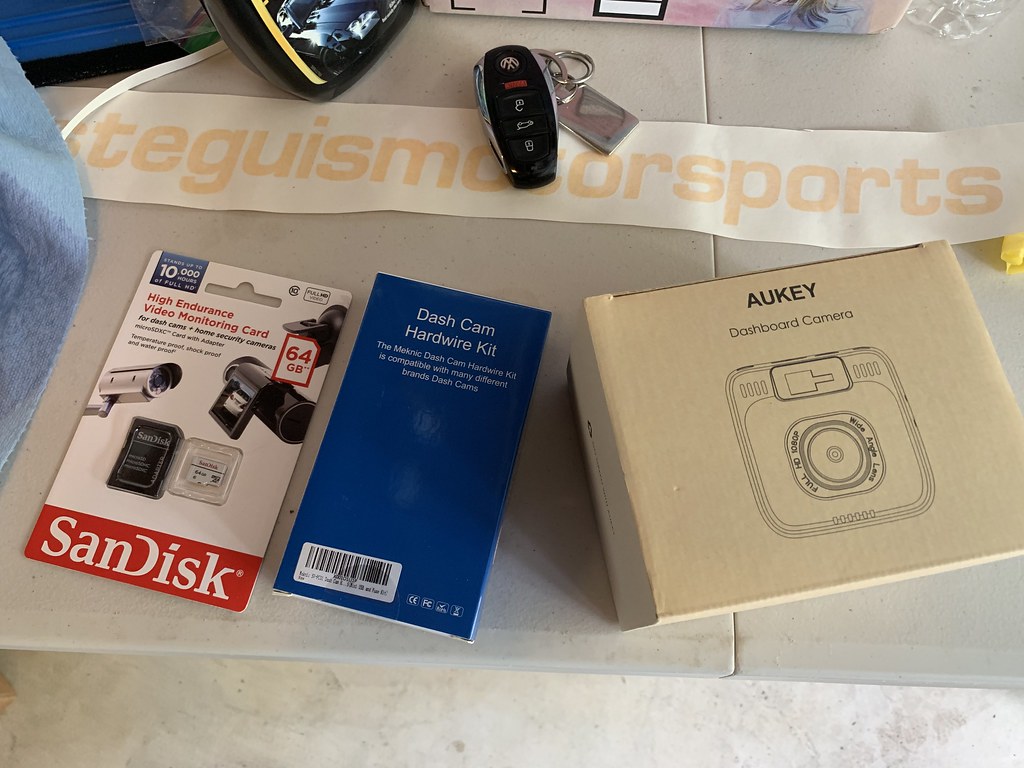
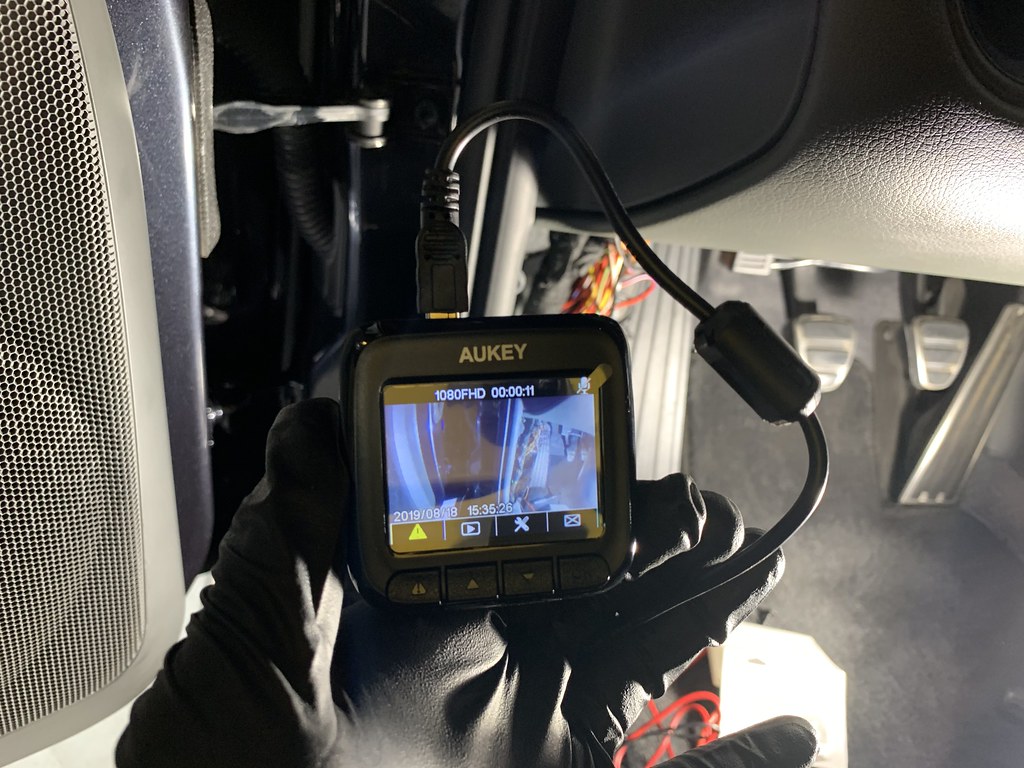
Since I was already working on the car, I finally installed a dashcam that I'd been meaning to install. I did a separate write up for it here so I could share it separately as an easy DIY.

Dashcam installed
Lastly, it's probably a bad idea driving out there on my "competition tires" just in case something bad happens on the way like getting a flat. This is especially true this year since the Advan A052s aren't heavily stocked so replacing them won't be that easy. I'm convoying out with James and he's trailering so he's conveniently bringing my Advans for me. I put on the 19" OEM Carerra wheels wrapped in Continental DWS. I don't really care if these wear out anyway since I don't plan to drive the car during the winter and they can double as my rain tire.

Back on OEM Carerra wheels for the road trip
With all these things take care of the only thing I have to do is load up my luggage and helmet and go. Only 15 days and counting until we depart...can't wait!

Install a Dashcam in a 987 Cayman

I've been meaning to install a dashcam in the Cayman for some time but just never got around to it since it's always a bit of a fuss trying to get the wiring tucked in nicely. I didn't want anything expensive or fancy with wifi. I just wanted a small camera that could record clearly and would loop recordings as necessary so I don't have to worry about running out of space on the SD card. I opted to go with an Aukey 1080p dashcam, 64GB Sandisk "High endurance video monitoring card" and a Meknic dashcam hardwire kit. This came out to well under $100 on Amazon.

Dashcam essentials
This hardwire kit was particularly cost-effective because it comes with an 11ft 2A 12-20V to 5V mini-USB cable and four add-a-fuse tape cables with 2A fuses for a lot less than if you tried to buy these separately. The first step is the simply remove the cover for the fuse panel in the driver footwell and remove the three screws holding the surrounding panel in. This will allow you to pull the carpeted panel surrounding the fuse box off by pulling out from the bottom towards the pedals.

Remove Screws
Carpeted cover removed
Now I had to find a suitable fuse to tap into. Looking up the fuse diagram, I found C6 (3rd row from the top, 6th fuse from left to right) to be most suitable. It's a 15A fuse if that helps you find it. This is for the rear window wiper which my car doesn't have but the fuse is still there. This is a switched power source so it's only active when the car is on so it's ideal unless you want to constantly power your dashcam even while parked. The add-a-fuse is perfect here since all you have to do is pull the fuse out, put the original fuse into the add-a-fuse adapter then plug the add-a-fuse into the slot where the original fuse came from. This will allow whatever accessory that was using it to continue to work except now there's a tap with its own fuse. In this case, the kit includes a suitable 2A fuse already installed.

Add-a-fuse installed and USB cable hooked up
Now take the red wire from the mini-USB adapter kit and plug that into the add-a-fuse and wrap it in electrical tape. It's a nice snug fit so you don't even need to crimp or solder it with this kit. For the ground, you'll see a 10mm bolt that holds the fuse box to the chassis. Loosen the bolt, then put the ground in between and tighten. Now before you do anything else, plug the USB cable into the dashcam and make sure it works when you turn the key on.

We have power!
You can now disconnect the USB cable fro the camera. The rubber weather stripping by the door can be pulled out and you can run the cable up the A-pillar without even removing it but just tracing it through using a plastic pry tool. Make sure you give enough slack so you can run it all the way to wherever you're going to mount the camera then again just sneak the cable into the headliner with a pry tool.

Dashcam mounted and operational
Once you're comfortable everything works as it should you can now zip tie the extra cable together and tuck it in between the OEM wire looms and reinstall the carpeted panel and the fuse box cover. Obviously, the hardwire procedure is the same for whatever dashcam you prefer to buy and you can even use a similar procedure to supply power to a radar detector. I changed the settings so the screen shuts off (but still records) after a minute so I'm not distracted by it being on all the time. I kind of wish I used an even smaller dashcam without a screen but it is nice to easily see what the camera is seeing in case I need to adjust the angle or validate that it is in fact recording.

Tuesday, August 6, 2019

SPEEDiagnostix Used Oil Analysis

Last month, we changed the oil and I got the used oil sample sent out to SPEEDiagnostix for analysis. The oil had been in there for 7 months and 3000 miles and obviously several autocrosses and as far as I know, this is first used oil analysis for this car by anyone (including all previous owners). She passed with flying colors so this is a very good and comforting sign that the engine is quite healthy. The viscosity is about the same as the reference number for DT40 for a fresh bottle and no fuel dilation would indicate good sealing of the piston rings which is also a good indicator that the bores aren't scored. The only ding I got was for oxidation which would indicate the need for more frequent oil changes. I think we changed the oil at just the right time but I think going forward I'm going to change the oil every 6 months regardless of mileage (at least while I'm on Driven DT-40) to keep the oxidation levels low.

Used Oil Analysis Results -  Page 1 - 8/6/2019
Used Oil Analysis Results -  Page 2 - 8/6/2019
Used Oil Analysis Results -  Page 3 - 8/6/2019

Sunday, August 4, 2019

Final Testing Before Nats

We're still a month away from Nationals but there really aren't any events from now until then that'll work for me so today was the final shakedown for Kay. I really had no goals today other than to make sure the updated alignment and sway bar fix all felt good.

NNJR SCCA - 8-4-2019
Overall it was a successful event. The intense heat was really getting to me but held it together long enough to grab the win. You can tell I was being much more conservative since I didn't hit a single cone all day long. The car was a bit pushy. I increased the front rebound one click and that made it more neutral but I didn't want to make any major changes since I'm going to be changing some of these settings when we're on concrete anyway. I'd like the car to be a bit more loose and I can do that in Lincoln with no concern about poles and curbs.

Results - NNJR SCCA - 8-4-2019

NNJR SCCA - 8-4-2019

I've done everything I can to be in the best position for Nationals. I don't think I've left anything on the table as far as setup is concerned. Thankfully, I won't have to drive all the way there on my competition tires as James offered to transport my wheels so I'll be driving there on my Continental DWS tires which will end up being my rain tires in case we get poured on.

There are 29 drivers registered for STU at Nationals with only 2 of them being Caymans. I'm obviously one of them and the other one is a 987.2 so it's going to be an uphill battle. It's such a huge mix of cars and drivers it'll be anyone's game. I'm just hoping to eek out enough for a trophy position on this, my 7th, trip to Nationals.