I've been meaning to install a dashcam in the Cayman for some time but just never got around to it since it's always a bit of a fuss trying to get the wiring tucked in nicely. I didn't want anything expensive or fancy with wifi. I just wanted a small camera that could record clearly and would loop recordings as necessary so I don't have to worry about running out of space on the SD card. I opted to go with an Aukey 1080p dashcam, 64GB Sandisk "High endurance video monitoring card" and a Meknic dashcam hardwire kit. This came out to well under $100 on Amazon.
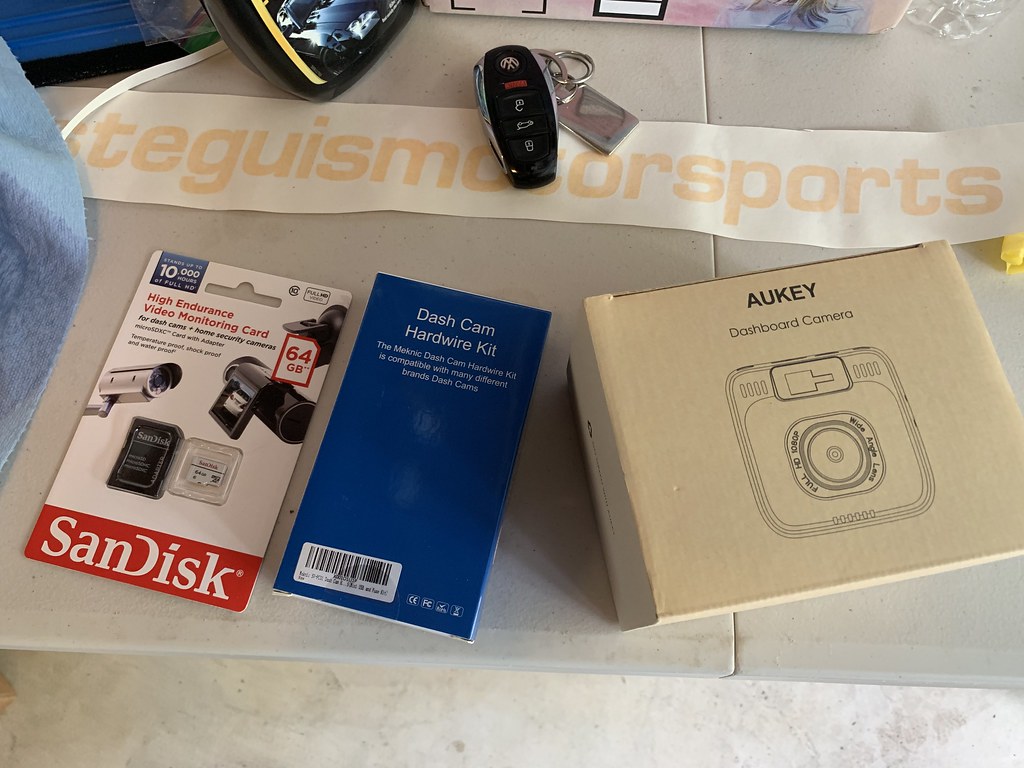 |
| Dashcam essentials |
This hardwire kit was particularly cost-effective because it comes with an 11ft 2A 12-20V to 5V mini-USB cable and four add-a-fuse tape cables with 2A fuses for a lot less than if you tried to buy these separately. The first step is the simply remove the cover for the fuse panel in the driver footwell and remove the three screws holding the surrounding panel in. This will allow you to pull the carpeted panel surrounding the fuse box off by pulling out from the bottom towards the pedals.
 |
| Remove Screws |
 |
| Carpeted cover removed |
Now I had to find a suitable fuse to tap into. Looking up the fuse diagram, I found C6 (3rd row from the top, 6th fuse from left to right) to be most suitable. It's a 15A fuse if that helps you find it. This is for the rear window wiper which my car doesn't have but the fuse is still there. This is a switched power source so it's only active when the car is on so it's ideal unless you want to constantly power your dashcam even while parked. The add-a-fuse is perfect here since all you have to do is pull the fuse out, put the original fuse into the add-a-fuse adapter then plug the add-a-fuse into the slot where the original fuse came from. This will allow whatever accessory that was using it to continue to work except now there's a tap with its own fuse. In this case, the kit includes a suitable 2A fuse already installed.
 |
| Add-a-fuse installed and USB cable hooked up |
Now take the red wire from the mini-USB adapter kit and plug that into the add-a-fuse and wrap it in electrical tape. It's a nice snug fit so you don't even need to crimp or solder it with this kit. For the ground, you'll see a 10mm bolt that holds the fuse box to the chassis. Loosen the bolt, then put the ground in between and tighten. Now before you do anything else, plug the USB cable into the dashcam and make sure it works when you turn the key on.
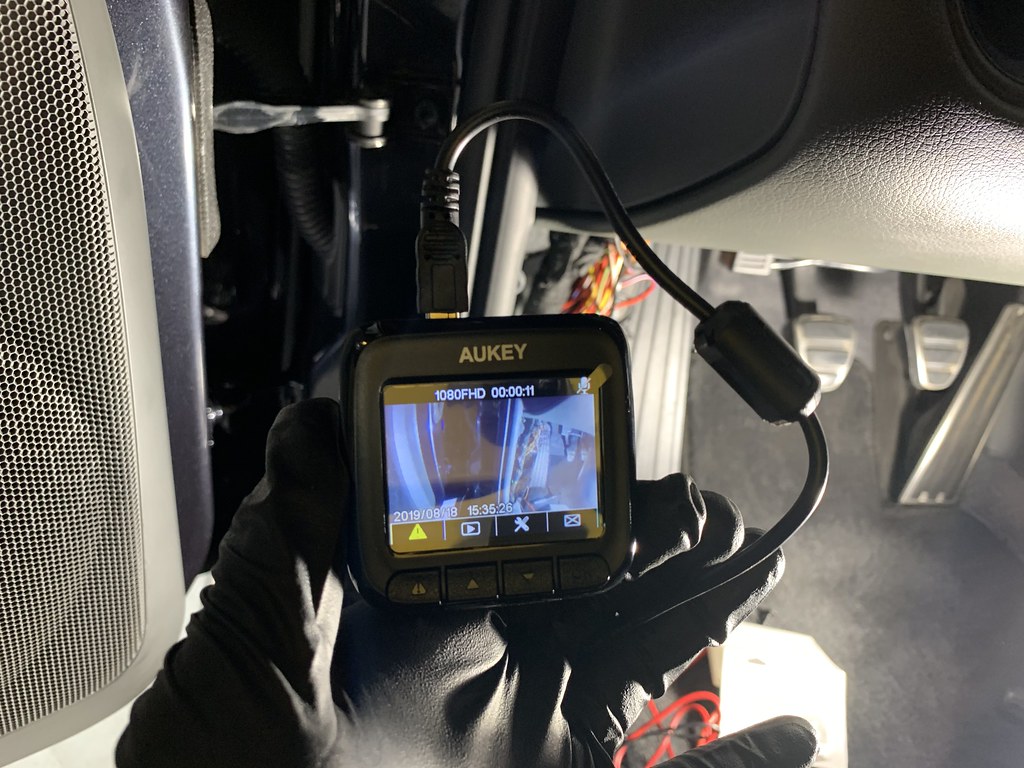 |
| We have power! |
You can now disconnect the USB cable fro the camera. The rubber weather stripping by the door can be pulled out and you can run the cable up the A-pillar without even removing it but just tracing it through using a plastic pry tool. Make sure you give enough slack so you can run it all the way to wherever you're going to mount the camera then again just sneak the cable into the headliner with a pry tool.
 |
| Dashcam mounted and operational |
 |
| Dashcam mounted and operational |
Once you're comfortable everything works as it should you can now zip tie the extra cable together and tuck it in between the OEM wire looms and reinstall the carpeted panel and the fuse box cover. Obviously, the hardwire procedure is the same for whatever dashcam you prefer to buy and you can even use a similar procedure to supply power to a radar detector. I changed the settings so the screen shuts off (but still records) after a minute so I'm not distracted by it being on all the time. I kind of wish I used an even smaller dashcam without a screen but it is nice to easily see what the camera is seeing in case I need to adjust the angle or validate that it is in fact recording.